Mitsubishi Outlander PHEV A119 with GPS
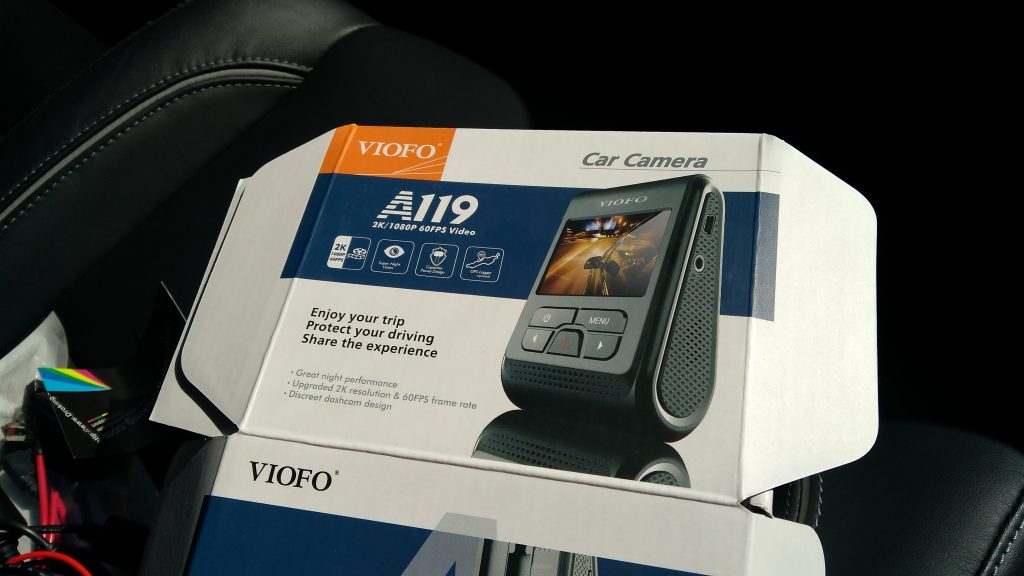
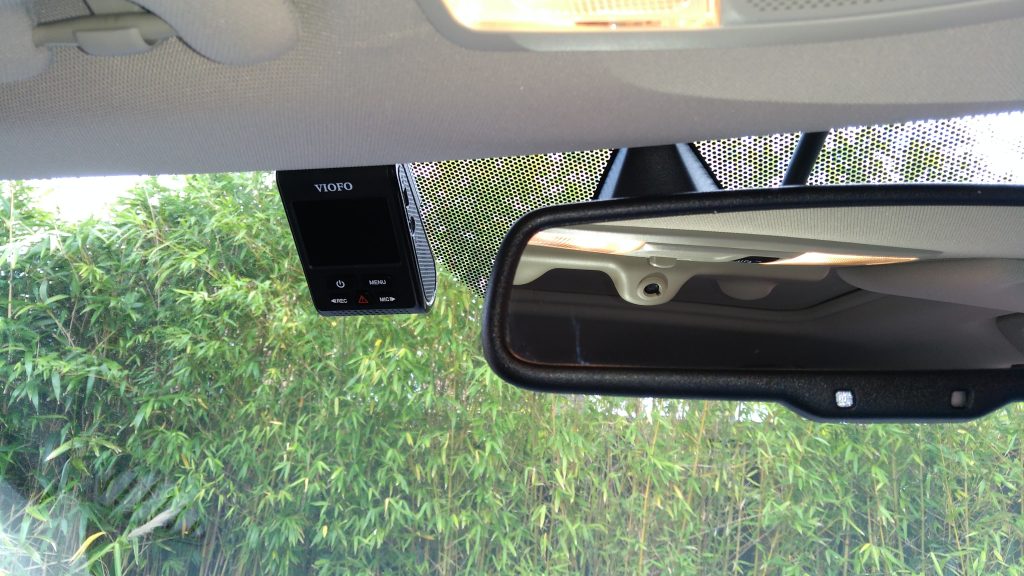
Installation of a A119 Dashcam. Choose this camera due to its low profile so its not easily seen and it’s fairly easy to remove from the GPS mount if I am parking somewhere where I am concerned about leaving it in place. I went for the optional GPS add on.
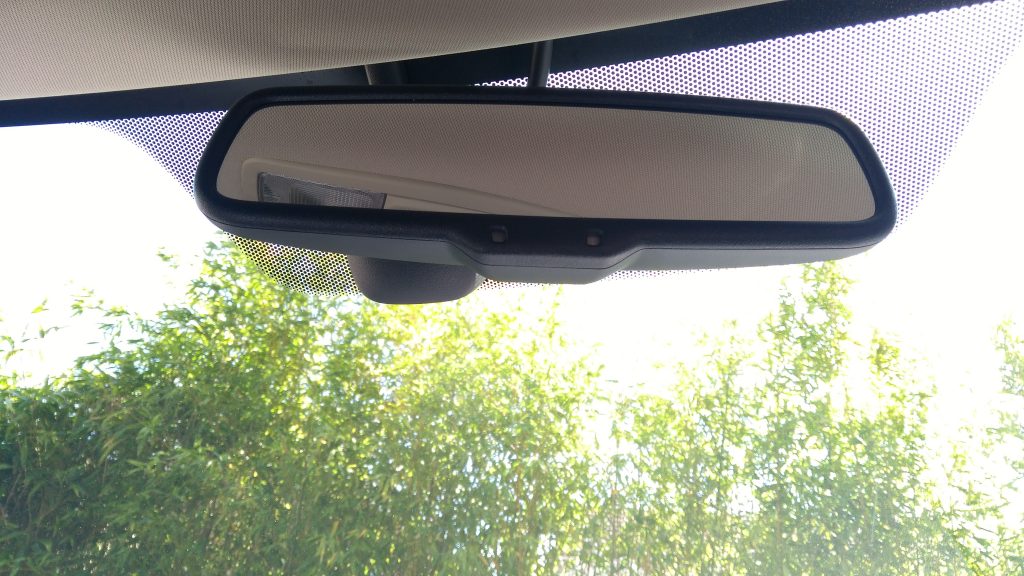
Wanted to put the camera as close to the roof lining as possible but not to be obscured by the hashed area of the windscreen. I opted for the left hand side so its out of the way of the driver.
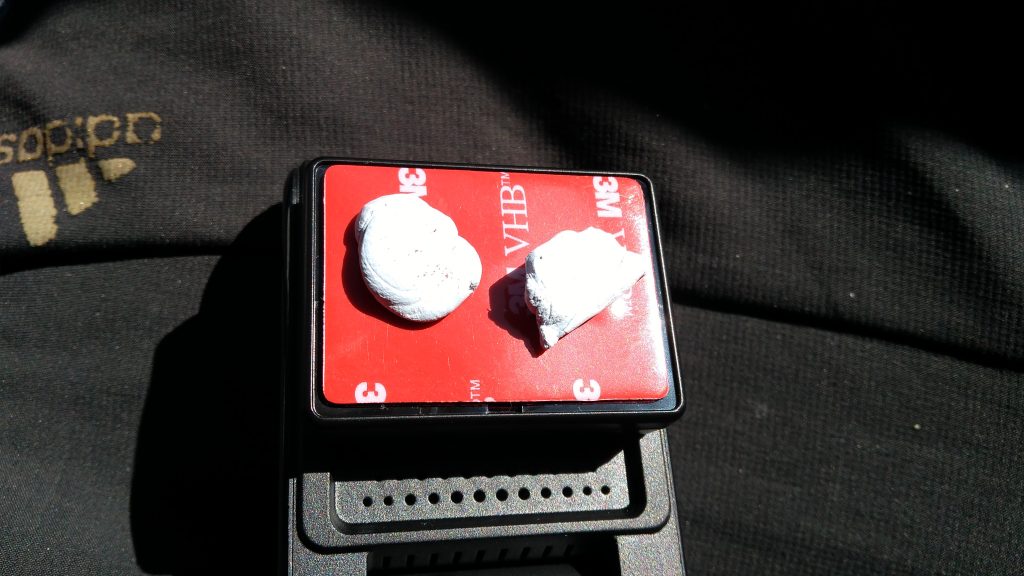
As a test I stuck some bluetack onto the GPS mount and then drove round with the camera on and connected to the cigarette lighter adapter to make sure I was happy with the position.
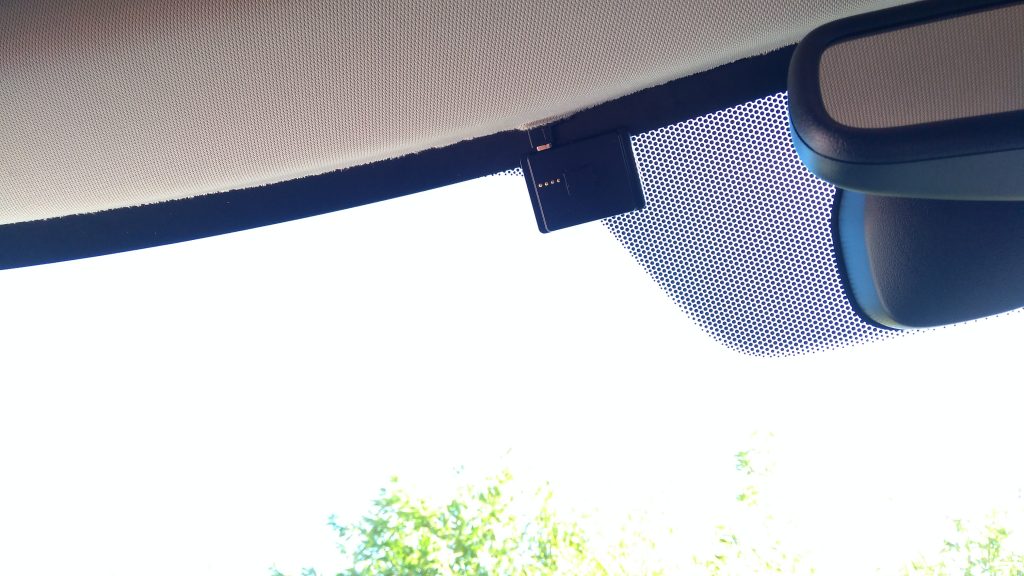
This is the position I ended up with.
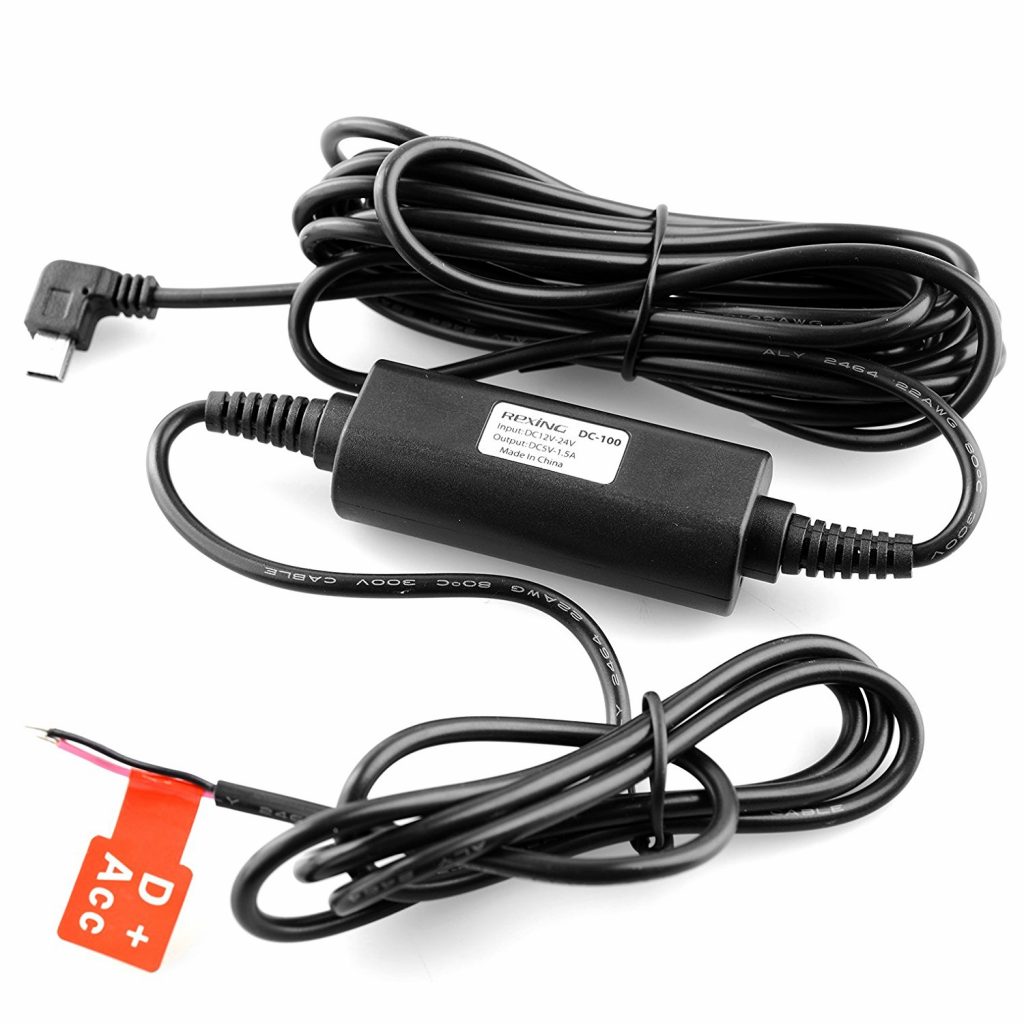
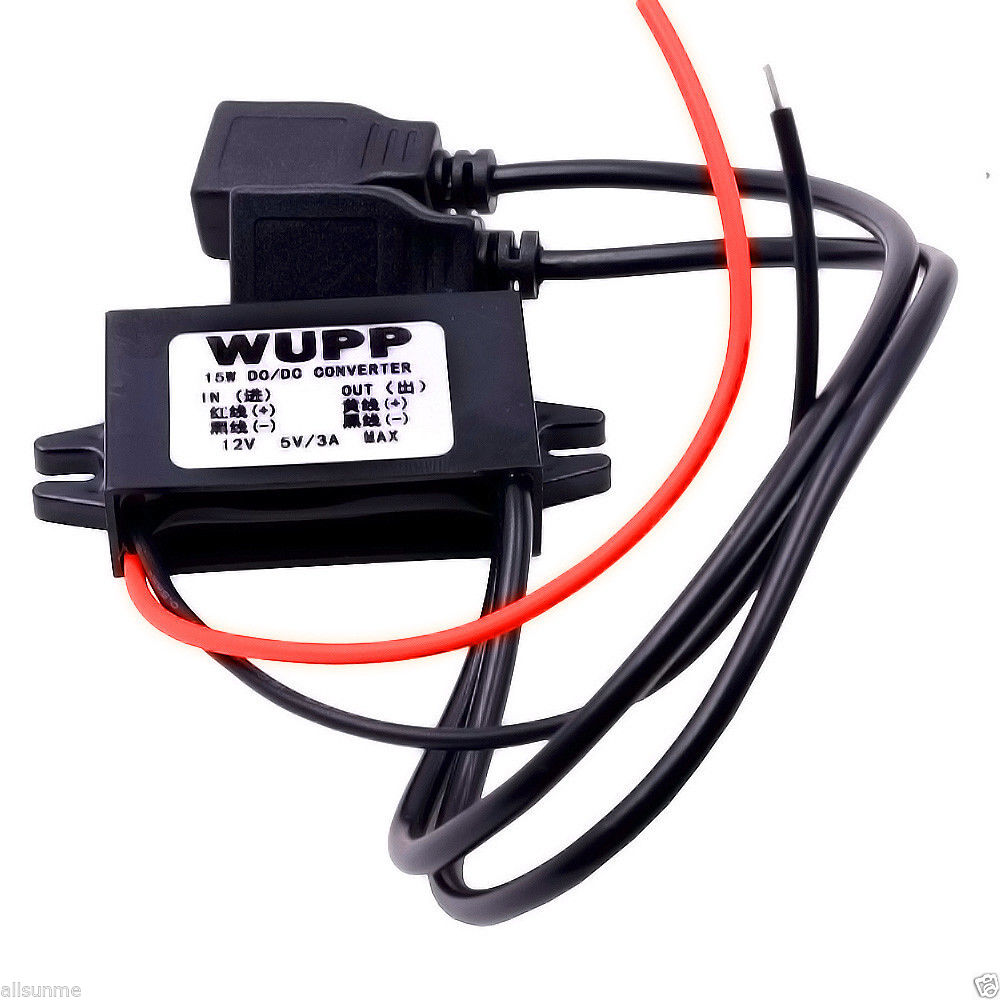
This cam takes a mini USB cable so I purchased this power adapter from Amazon

Started to route the cable behind the roof lining. The roof lining is quite loose and easy to push the cable under.
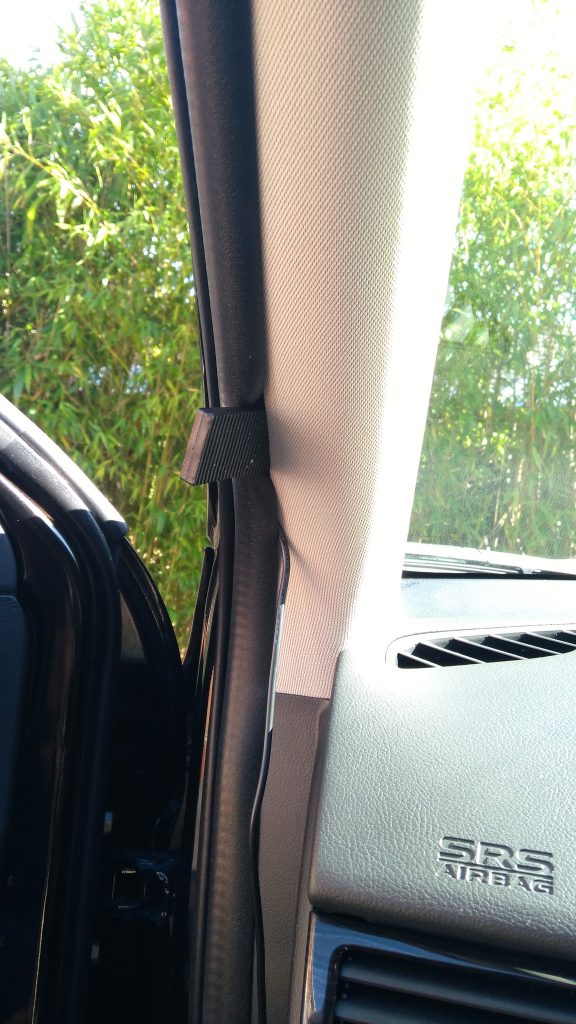
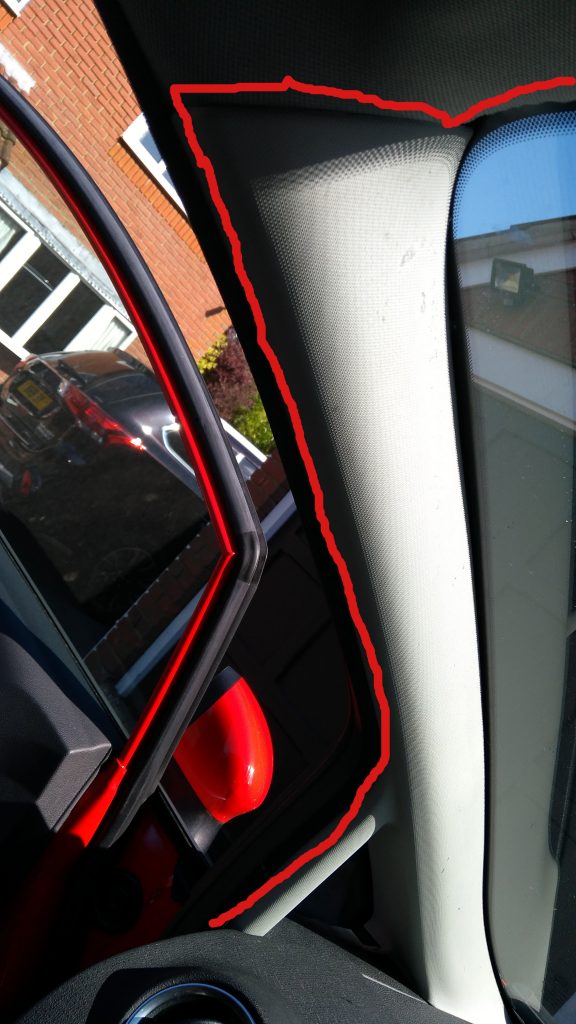
As I was routing it down the door frame I found that a plastic spacer was a great tool to push the cable in so it didn’t damage the cable and pushed the cable in far enough so the door seal went back flush
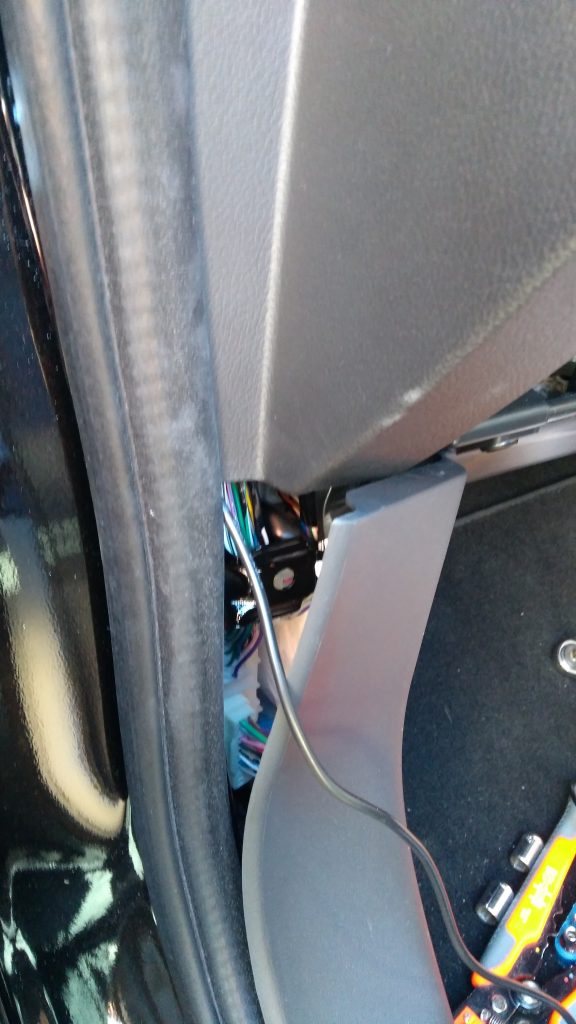
I pulled this bit of trim off so I could route the cable into the car towards the glove box

I removed the glove box so I could access the fuse box and loosened the trim underneath so I could get better access.
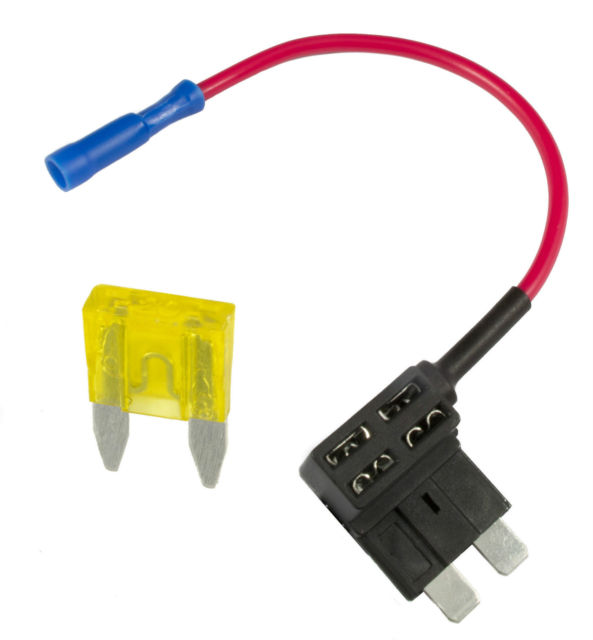
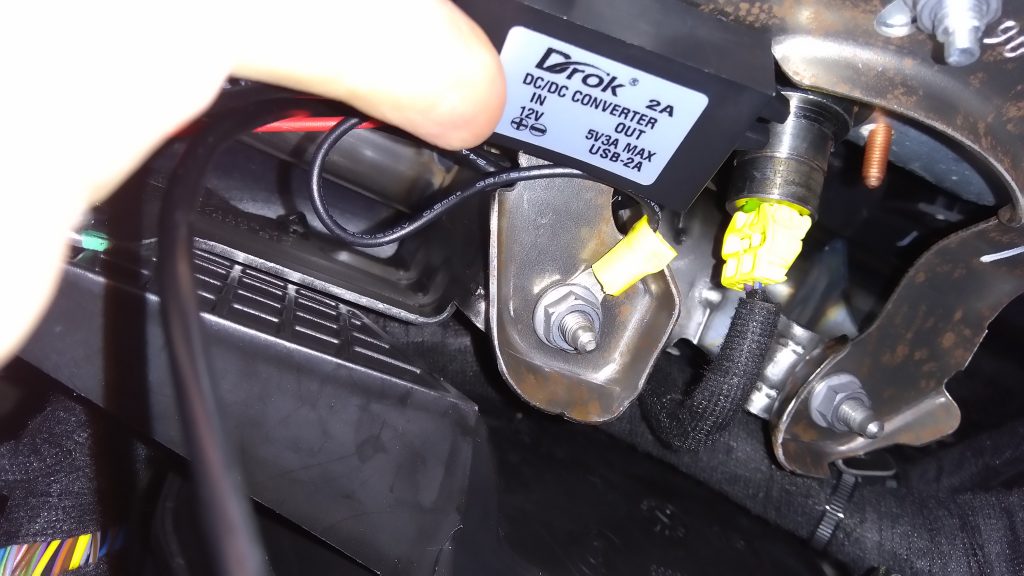
I used one of these fuse piggy back kits. I piggy backed off the USB / cigarette fuse. This give you positive power and then its just a case of finding a suitable ground on the car chassis. I used a volt meter to test that there was no power once the car was powered off and power when it the ignition was turned on. I also checked to see if I was getting 12v. I considered using an earth point just below the glove box at the top of where the passengers feet are but I wasn’t getting a good power reading from that connection so settled for a bolt next to the fuses.

In this picture you can see the fuse and immediately to the right of it the bolt I used to connect the negative power connection to.
Ford Fiesta Ausdom AD118
I went with this camera again due to its low profile and it was £25 on an Amazon deal. It’s only native 720p but the online video that people had posted seemed to suggest the quality was good enough.
The installation was pretty much the same as for the PHEV.
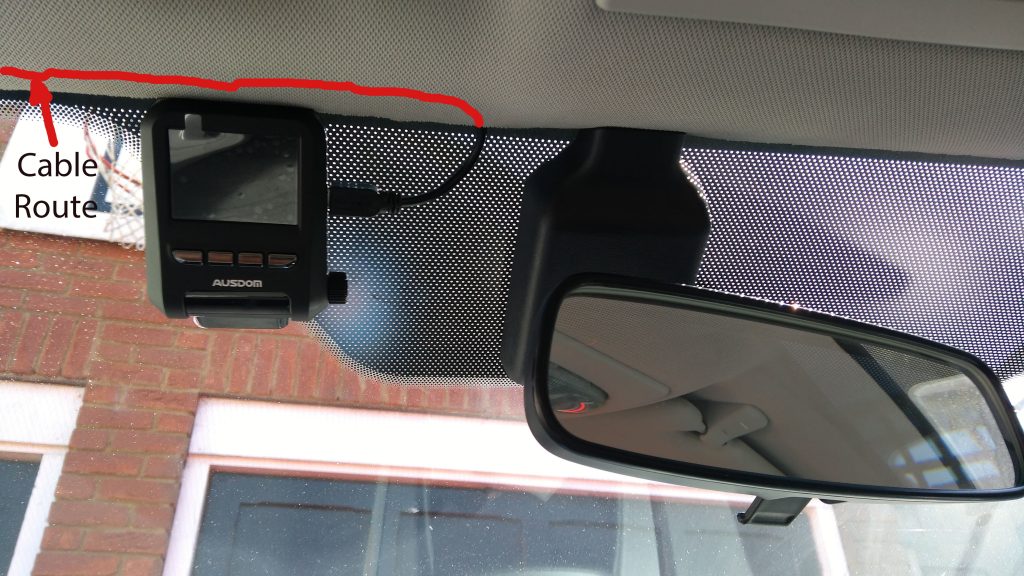
Positioned the dashcam in pretty much the same place and ran the cable along the roof lining
This time I went for this adapter which uses USB connections. I used the long USB cable that came with the camera.
and then down the frame using the plastic spacers to push the cable in.

and cut into towards the fusebox. Bit easier on the fiesta as I didnt have to remove any trim.

On the fiesta I choose an unused fuse but again used a voltmeter to ensure I was getting power only when the ignition was on and to find a suitable ground connection.
I went for this point here above the fuse box.

With the power adapter having two usb connections I used double sided tape to attach the free connector to the inside of the glovebox as a spare charge point.